 |
| My Table at Heritage Ladies Birthday Bash, Fall 2015 |
I have to admit I'm a little bit out of my comfort zone. I have had an online presence on Etsy for a few years and feel very confident in the art of selling online, but in person, well that's another story.
- People LOVE the 'over the top' pieces like 18K gold Victorian rings, but they tend to BUY simpler, less expensive jewelry at shows like this.
- Standing IN FRONT of my table instead of behind it seemed to feel more comfortable for both the customers and myself. I knew many of the ladies at the event, but there were new faces I had a chance to meet as well.
- People love to hear STORIES about the pieces - the era they are from, what made them special, how I got them, etc.
- Having products at multiple SIGHT LINES was a great way to get people to browse my jewelry.
- Packing SIMPLY was critical for my morning. Many of the other tables in the room spent 1-2 hours being set up by their owners. This set up looks complicated, but it took me a half hour on each end of the show. How did I do it? Everything was already boxed up and ready to go with the exception of a few pieces you see on necklace holders and the rings I had in nice wood boxes.
- LIGHT is a great way to draw the eye. I used a few book lights strategically placed to light up sections of my table. The light in the auditorium was nice and bright, but this added a little something extra to my jewelry.
- I used a 6 foot folding table provided by the church. I found that by RAISING the table just 6 inches with bed risers and draping it with a nice restaurant grade tablecloth added understated elegance plus lifted my items up so people didn't have to bend over to see the things directly on the table.
 |
| Sketches for an Outdoor Booth |
So, why am I out of my comfort zone? Two reasons: I'm going bigger AND I'm bringing my new line to a couple shows this summer! When I learned about people buying simpler, less expensive items last fall, I knew I needed to think a little differently about how I would do summertime pop up markets. At first, I thought I would just wait until I wasn't working my day job because I knew it would be a lot of work, but then I realized I wanted to start getting out there now. Not a show every weekend, or even every month, but at least 2-3 times per year. Thankfully, my sister is also starting to think about selling things she makes (see my blog post about her sweet signs here), so I don't have to fill up a 10x10 spot with my jewelry alone, but it is still a daunting task.
 |
| Score! Vintage Folding Screen |
See this cool thing? It's a vintage folding screen with three panels - a garage sale bargain I picked up last fall as a 'just in case I want to sell at local venues' option. It's huge! It will become an integral part of our booth. I'm not a big fan of painting over beautiful wood like this, so I'm leaning toward using peg board panels hung over the top as the backdrop for our products. I've sketched up a bunch of ideas, but we'll see where things land. I have about 15 notecards stacked up now for not only organizing our booth, but how I want to package my line to make it work for both shipping from my online store to displaying in the booth to easy transport. Our goal is to set up/tear down within an hour or less, the whole 10x10 space.
 |
| Wood Jewelry Displays |
One thing I am thankful for is a husband who has woodworking and building skills. Mark is teaching me how to make things myself. I started with these simple wood displays for necklaces. I'll be making them not only to display a few necklaces in our booth this summer, but to sell as well. I am looking forward to this next chapter and am especially thankful to be sharing the adventure with my sister, Sherrie. Our Mom is also going to be helping us with the booth since she will be back up here this summer. A family affair!!!
Here's to a fun summer,
Chris
P.S. I couldn't leave you without a few photos of my favorite booth and display ideas. I love the ingenious ways people come up with to display their wares, but especially look for simple and quick set up.
 |
| Earring Display via Weggart Love the idea of hanging them sideways to save space and transport easily |
 |
| Photo via Jessica Smutek Quick and simple way to display bracelets, also easy to pack |
 |
| Image via BlackForestCottage on Etsy What a great way to transport and display jewelry |
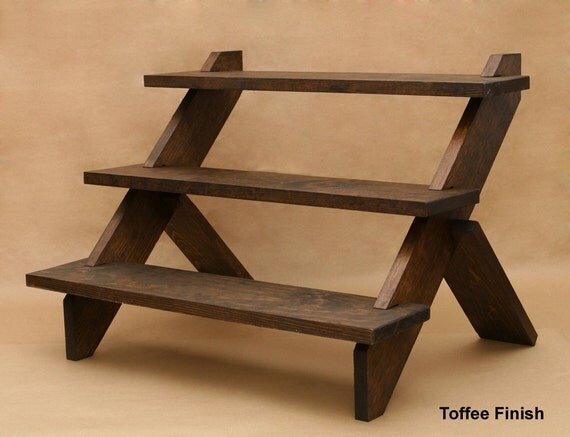 |
| Photo via USaveCo on Etsy This sweet three tier shelf comes apart for extremely easy transport |
 |
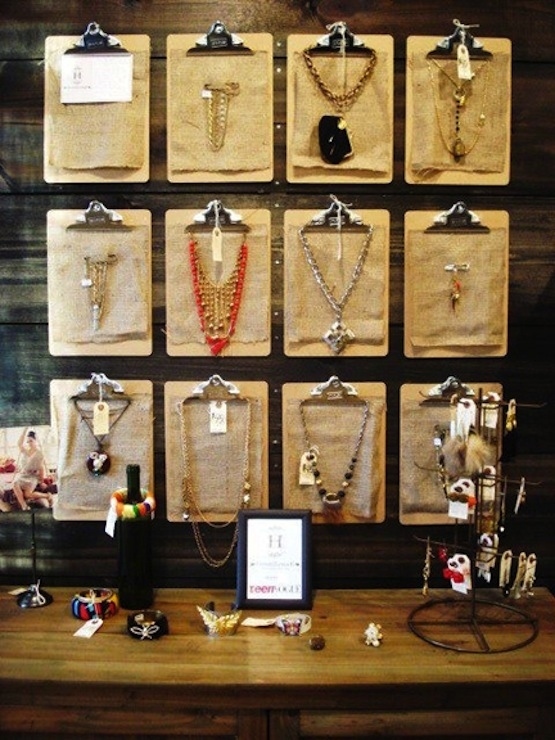
| Good Stock Photo via San Francisco Girl by Bay See those boxes on the wall? A little bigger and they would work for transport AND display |
 |
| Photo via Fixtures Close Up Love this - a vintage valise converted to sell bracelets (this site has a ton of great ideas) |
 |
| Photo via Buzzfeed No busts to display your necklaces? No problem! Simple, easy to transport & pack |
 |
| Photo via Grit Goods Shutters serve to keep people from tripping over poles AND extra display space |
 |
| Photo via Lil Ruby An old drawer organizes and transports earrings |
 |
| Image via Matome Naver Good in so many ways - baskets to display and transport packaged necklaces, earrings A few key pieces hung/displayed to catch the eye Same size crates to add interest and transport the larger display pieces Greenery and flowers to ad color |
 |
| Image via MSquared on Etsy Nice portable shelf unit for display |
 |
| Photo via Doug Schmitt Antiques Completely impractical, but I couldn't resist - antique dental cabinet! |
See my Pinterest board for jewelry storage and display ideas for many more options...
No comments:
Post a Comment